 |
CASE MOD 2016 | |
In the past I would upgrade my Master PC twice a year.
So after 4 years it was time to replace my First Gen i7 rig.
Amongst others I acquired a Fourth Gen i7 4790K Processor, Asus ROG Motherboard, 16 Gigs of 2400Mhz RAM
and a tasty Samsung 850 Pro 256 Gig Solid State Drive.
All high end equipment capable of handling the punishment I unleash on my kit.
But there had to be more this time.
I had always wanted to build a Case Mod and this seemed like the right time.
Taking this project from pencil sketch ideas to completed project has been a demanding yet satisfying experience.
Please enjoy a walk through my build.
 |
 |
|
CREDITS | |
Before we begin lets give credit where credit is due:
Thanks to GARY SWARTZ
for assisting with the CAD Software.
As this was my first CAD designed project, I needed a little tuition on the software.
Gary gave time and patience as he helped me through the rather unwieldy software.
Thanks to BORDER TECHNOLOGY DISTRIBUTORS
who are the suppliers of all the computer equipment involved in this build.
Thanks specifically to Munro for his solid advice and enthusiastic service.
BTD's support of the enthusiast and the high end builder is what sets them apart.
Thanks to CRYSTALITE PLASTICS
for the supply and laser cutting of all of the UHI Perspex involved in this build.
Thanks particularly to owner Francios Boniface for his patience
while I tried to find a file format compatible with the laser cutter.
www.crystaliteplastics.co.za
|
NEW HARDWARE | |
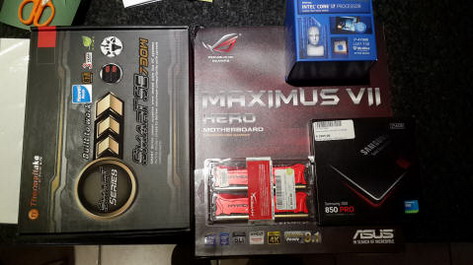
Lets first take a look at the New Hardware:
As this is my first upgrade of my Master PC in four years
I decided that some high end kit would be in order.
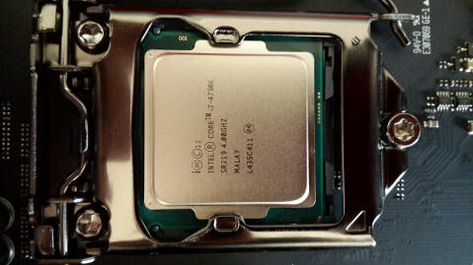
The processor was the easiest choice to make.
I selected the obvious choice - The Intel 4790K
This superb forth generation i7 processor is a beast.
It is probably the most powerful commercially available CPU before the price tag gets insane.
The motherboard was a more difficult choice.
There are many good boards out there from a plethora of reputable manufacturers.
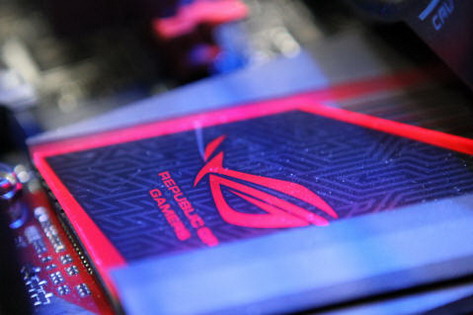
I settled on the ASUS ROG MAXIMUS VII HERO.
A feature rich board carrying the prestigious Asus "Republic Of Gamers" branding.
The RAM was selected on the recommendation of Munro from BTD.
It is 16 Gigs of Kingston HyperX Savage.
Sporting a decent clock of 2400 MHz.
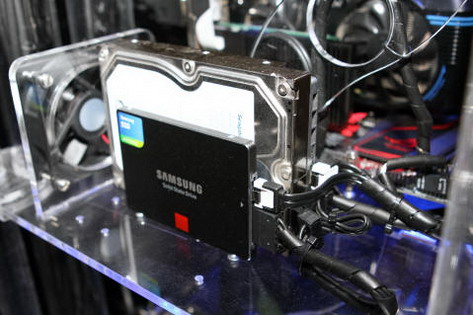
The Solid State Hard Drive was an obvious choice.
I selected the market leading Samsung 850 Pro - 256 Gig.
A most welcome addition to my rig.
The PSU is the Thermaltake SmartSE 730W modular PSU.
Again a very decent piece of kit recommended by Munro.
 |
 |
 |
 |
|
THE BUILD | |
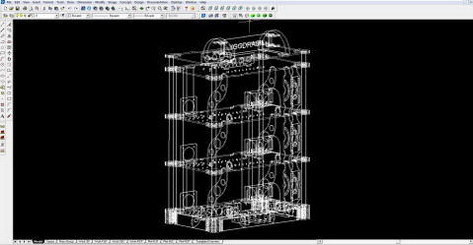
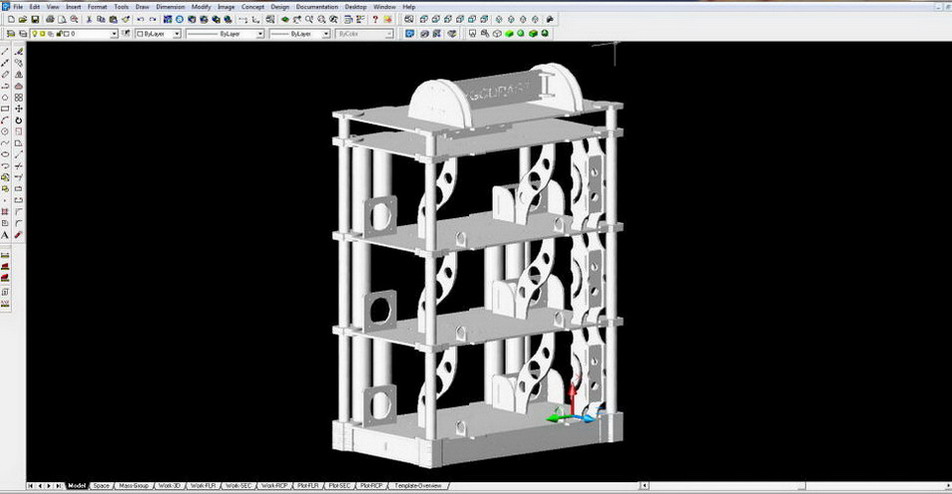
CAD SOFTWARE DESIGN
The only way to produce a build such as this is by mean of computer designed plans.
As I had never used CAD software before, I turned to friend and fellow PC enthusiast, Gary Swartz.
He has some experience with computer aided design and spent much time on Skype helping me navigate through the software.
Without this effort the build would not have been possible.
It is a remarkable experience seeing your pencil sketch ideas taking shape in a virtual environment.
Although frustrating at times, the experience was fulfilling.
 |
 |
 |
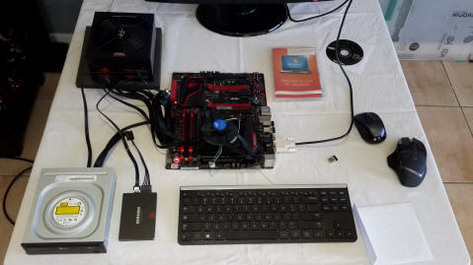
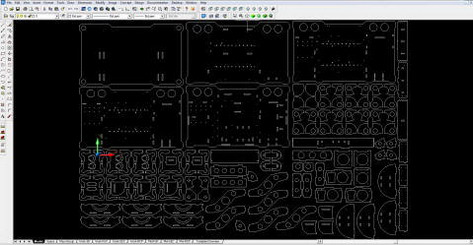
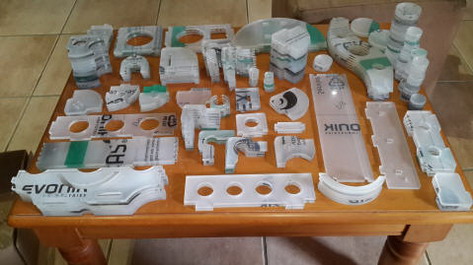
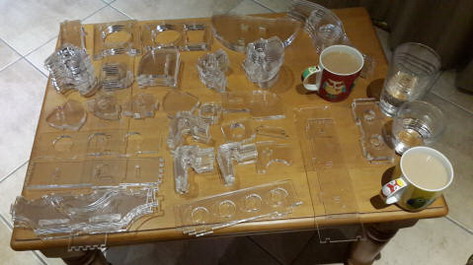
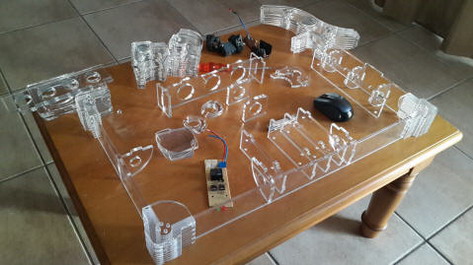
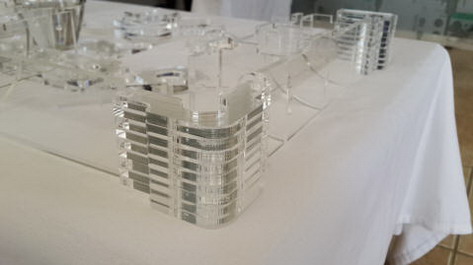
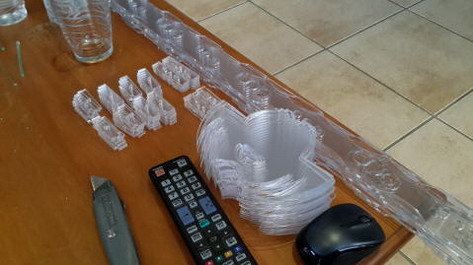
COMPONENTS
The components of the build were laser cut Ultra High Impact Plexi.
I was astounded by how many parts where involved when I started laying them out on my coffee table.
Many thanks must go to Francios Boniface of CRYSTALITE PLASTICS for his patience and assistance in helping me find the correct file format for the laser cutter and for re-cutting the parts that I broke during the build.
 |
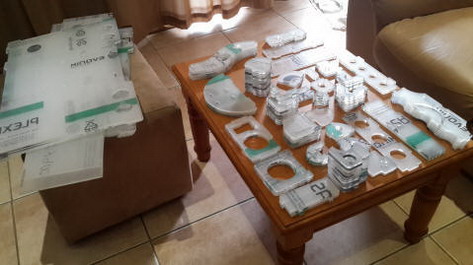 |
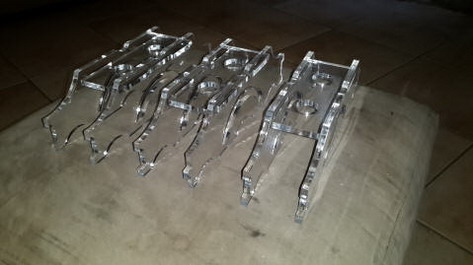
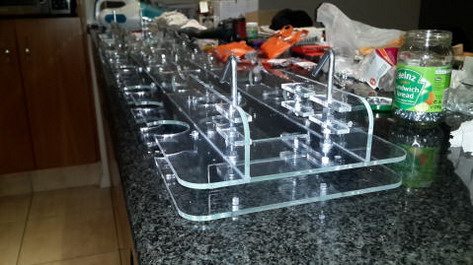
The individual components packed out .
The complete assembly.
 |
 |
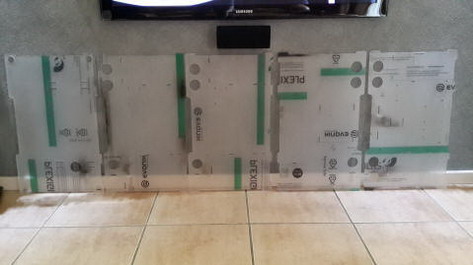
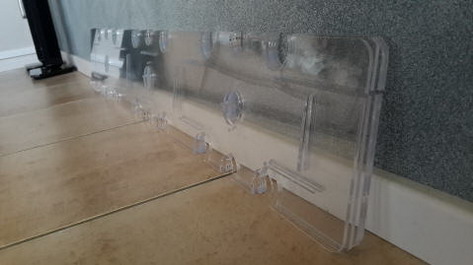
The bases stacked against the wall.
The UHI with the protective covers removed.
CONSTRUCTION
Assembling the structure was difficult and at times frustrating,
yet immensely satisfying as I watched each level rise above the next.
With so many components that are similar in size and shape it proved all too easy to make mistakes.
That being said, it was my first build of this nature and I found it most enjoyable.
I would recommend this path to any case modding enthusiast
 |
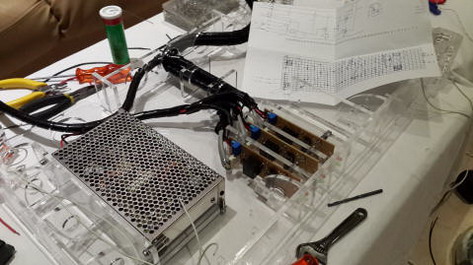 |
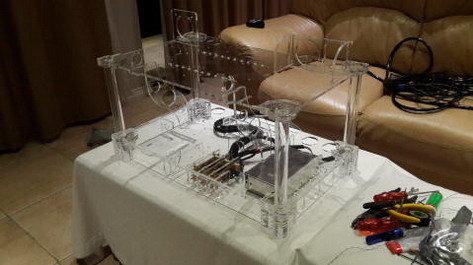
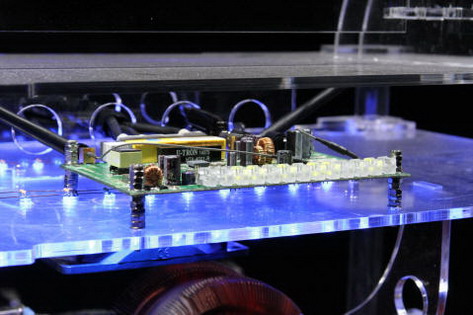
The Base was built first allowing for a solid structure
and a housing for the control components.
Power control components are built into the base.
 |
 |
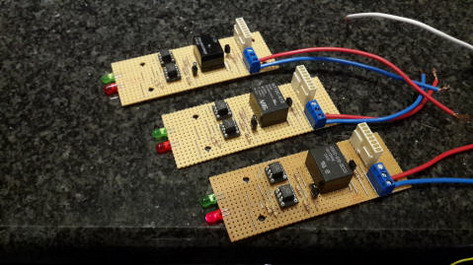
I designed and built three simple controller boards
to operate the LED's and case fans.
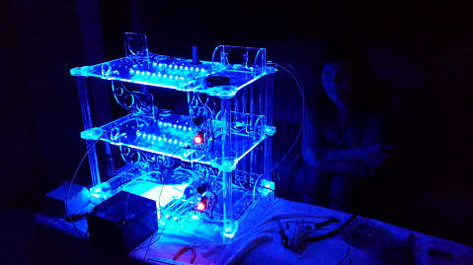
Layering the UHI provided strength and a means of capturing the blue light from the LEDs.
 |
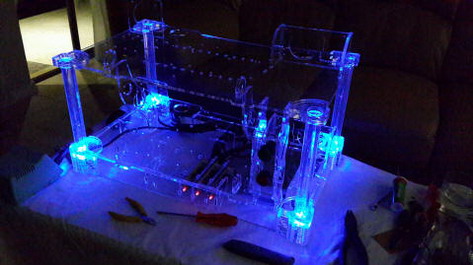 |
The second layer is fitted...
... and the LEDs are installed.
 |
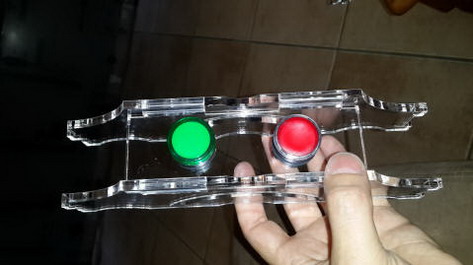 |
The housing for the On/Off button, Power light and Hard Drive Activity Light.
I decided to go overboard on the buttons and lights
by using industrial panel fittings from EPM.
 |
 |
The second layer is fitted...
... and the LEDs are installed
 |
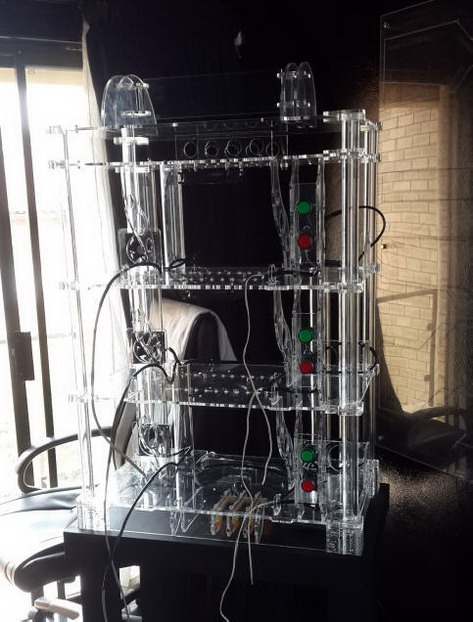 |
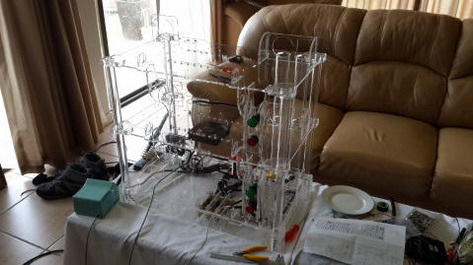
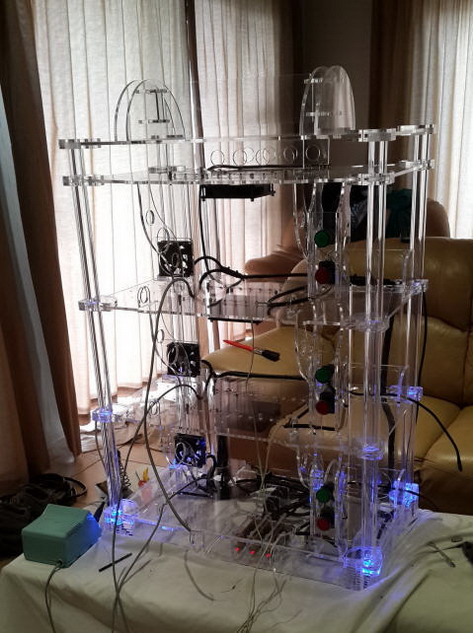
The Structure is completed....
... and moved into place.
Thanks to Gary Swartz for helping move the structure safely upstairs.
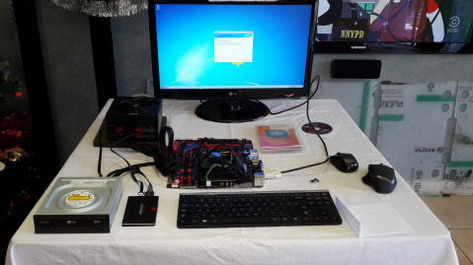
POPULATING
It was now time to begin populating the structure with the PC components.
The original PC's were installed first.
That being the First Gen i7 and the Second Gen i5 rigs.
Then finally the new addition was put in place.
Cabling from the PC's to the monitors on the desks proved to be a challenge,
but after resolving many issues the beast fired up.
 |
 |
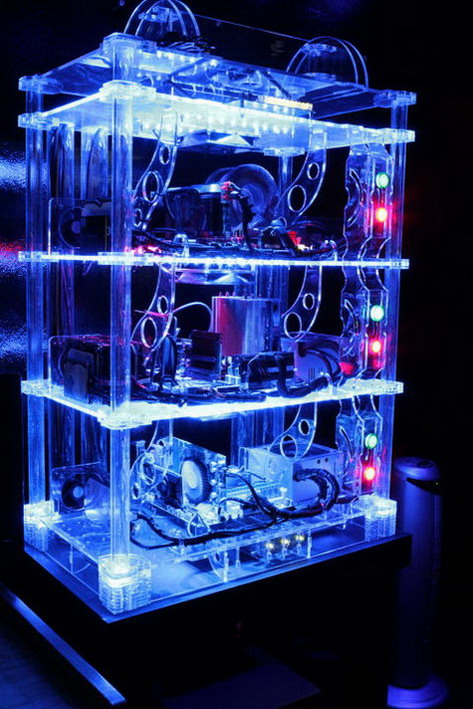
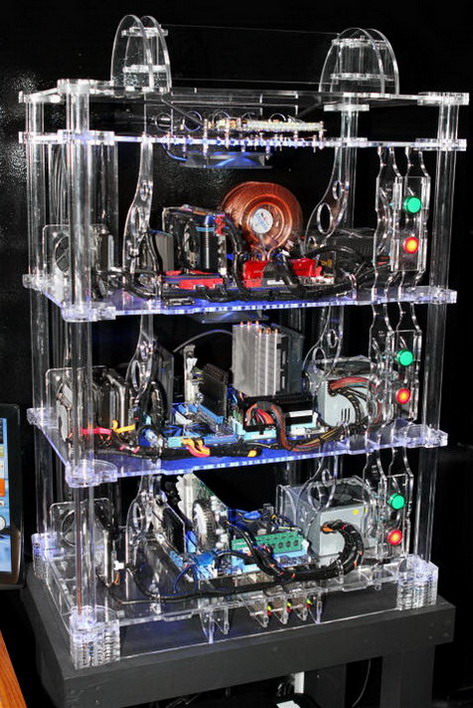
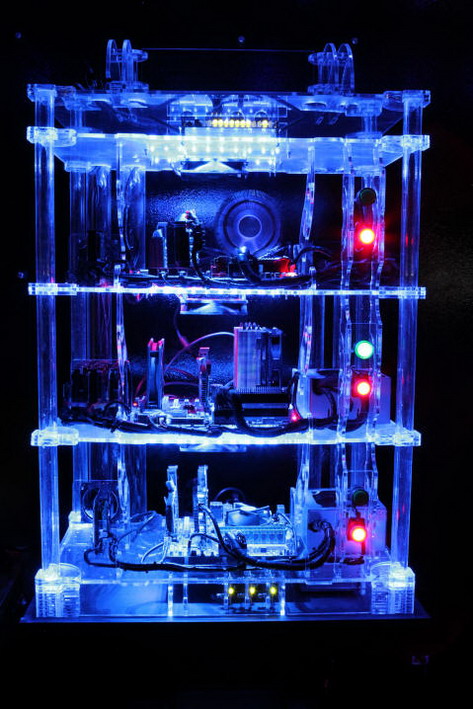
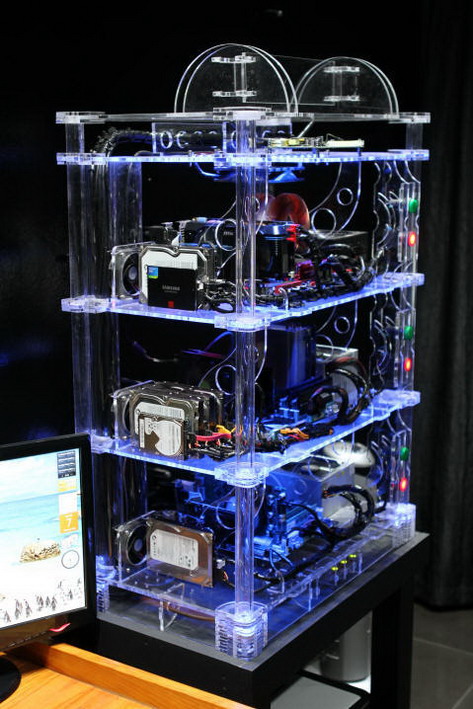
Front view of the completed Case Mod.
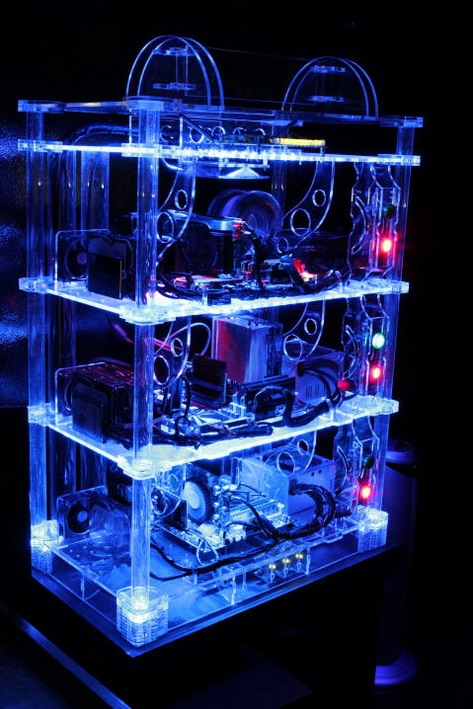
Oblique view of the completed Case Mod.
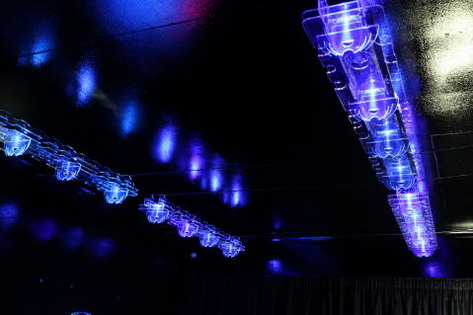
LIGHTING
The PC room walls and roof are painted black and the tiles and curtains are black as well.
This provides for a most pleasing environment, but lighting has always been a problem.
The dark room absorbs most of the light.
For this reason I decided to go a little overboard on lighting and included it in my build.
I designed the light fittings with the same CAD software and had them laser cut at CRYSTALITE PLASTICS.
The same UHI Perspex was used to match the case mod.
LED down lighters were the order of the day and have made a huge difference to the room.
 |
 |
The CAD design of the light fitting.
The CAD cutting chart for the Laser Cutter.
 |
 |
The individual components for the light fittings laid out on the coffee table.
The base sheets making up the length of the fitting.
 |
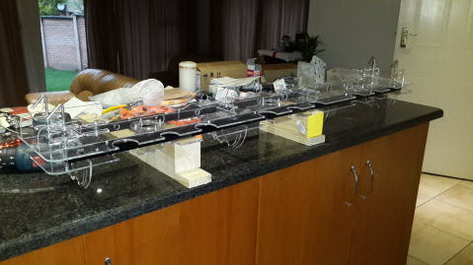 |
Due to the size of the light fittings, construction had to be moved to the kitchen countertop.
The complete structure ready for lights - 1 of 4.
 |
 |
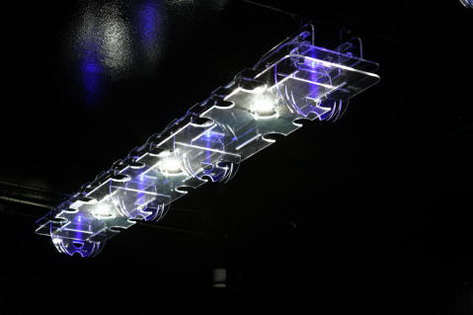
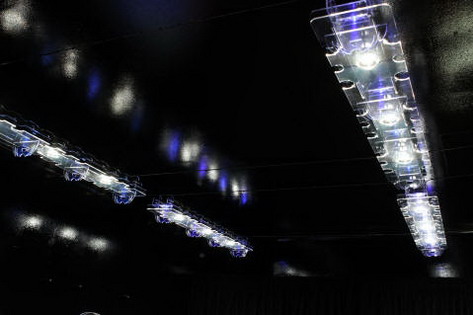
One of the light fittings installed and operating.
When the lights are off, the blue LEDs remain on, providing a pleasing blue glow in the room.
|
INDIVIDUAL PC'S | |
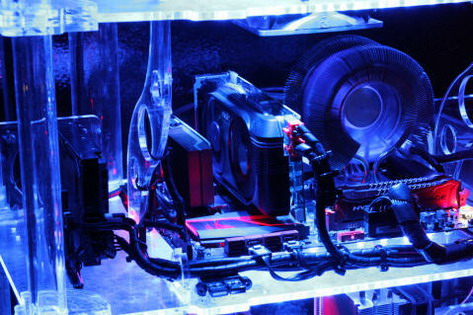
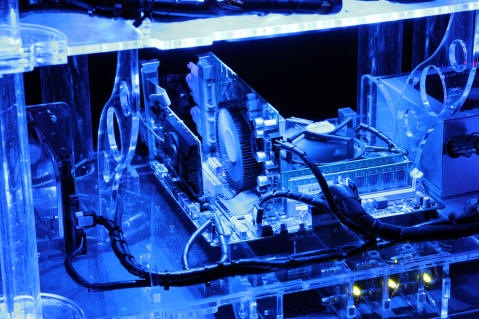
FOURTH GEN i7
The first of the 3 PCs is of course the new unit discussed already.
It is a powerhouse that will satisfy my power hungry needs for the rest of this year.
 |
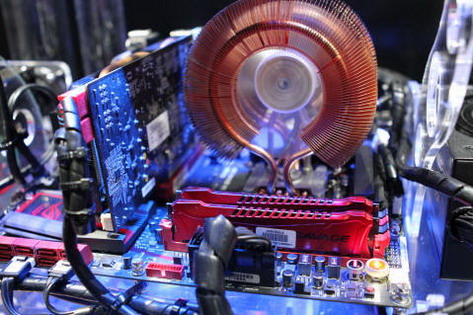 |
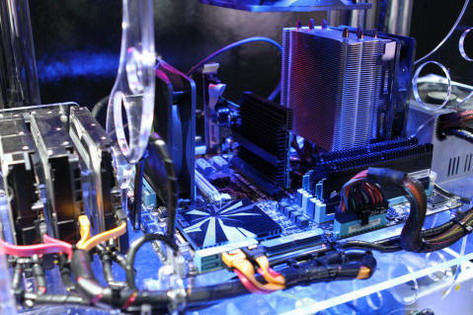
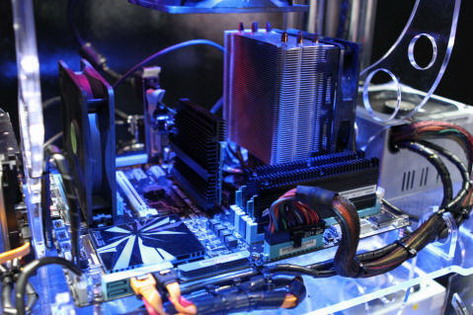
Draped under the blue LEDs, is a PC capable of any task.
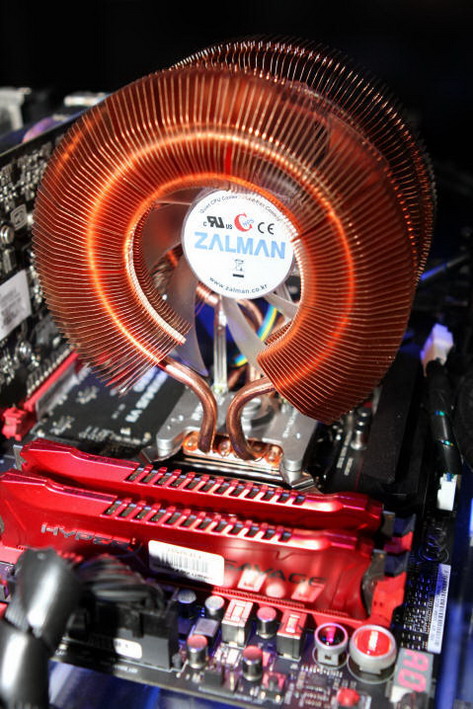
Lit from above, the RAM heat sinks create a pleasing front to the Zalman cooler.
 |
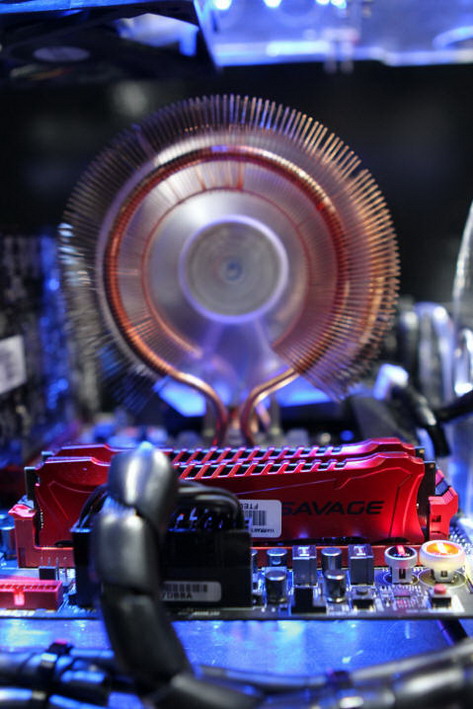 |
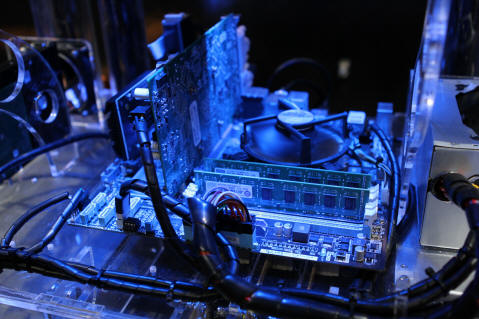
Hiding under the cooler is the mighty 4790K.
More eye candy
 |
 |
The Samsung 850 Pro - 256 Gig Solid State Drive adds to the lightning speed of the system.
And of course, the prestigious "Republic Of Gamers" insignia of the Asus ROG Motherboard.
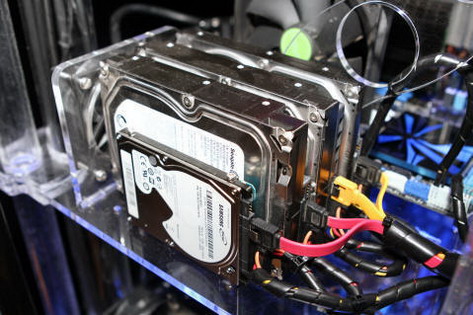
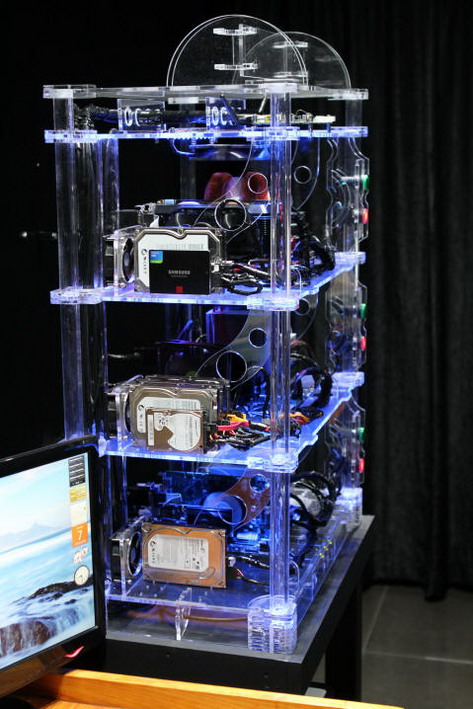
First Gen i7
This is my former Master PC, now downgraded to secondary machine.
It serves as additional processing power when required and also
as a storage hub for the network - boasting 7 Terabytes of disk space.
 |
 |
At 4 years old, she still delivers more power than most "Off the shelf" PCs today.
This PC has an excellent legacy. Much has been accomplished with this, now-dated powerhouse.
 |
 |
7 Terabytes of disk space take care of all my storage needs .
All four drives lined up in a row.
Second Gen i5
This PC was built for my wife.
It drives 4 monitors and takes care of all of her computing needs.
On occasion it serves as additional computing power when I require it.
 |
 |
Deceptively small, this PC delivers a punch when single thread processing is required.
Oblique view.
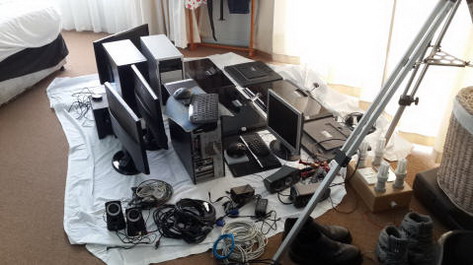
MISCELLANEOUS
Just a couple of shots that I wanted included.
 |
 |
My PC Room kit laid out on the floor before assembly began.
My 3G Router sits on the top later of the case, providing my link to the outside world.
|
THE PC ROOM | |
MY MAN_CAVE. THE SOURCE OF MY POWER
As a child I once watched an episode of Star Trek Original Series where
the Enterprise encountered a planet inhabited by gods similar to the Greek gods of old.
There they were held captive by a god.
Kirk soon learned that he drew his power from his throne and with this knowledge was able to defeat him in his weakened state.
I see my computer room as the source of my power. Figuratively speaking.
Being in front of my PC recharges and focuses me.
For this reason I have put some effort into creating a space that is pleasing to me.
Please enjoy a few photos of my PC room as it stands at the time of publication.
 |
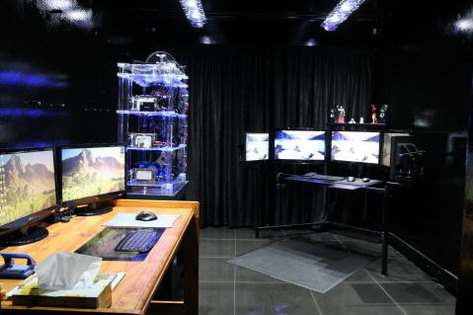 |
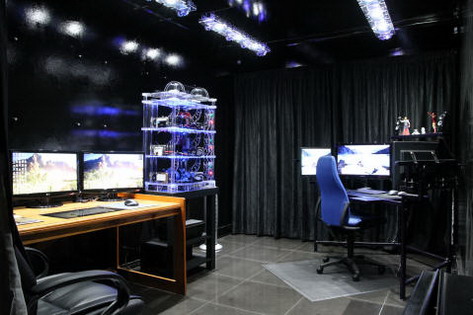
On entering the room you will see my desk on the right and my wife's on the left.
Viewed from the balcony, we see a clearer view of my desk.
 |
 |
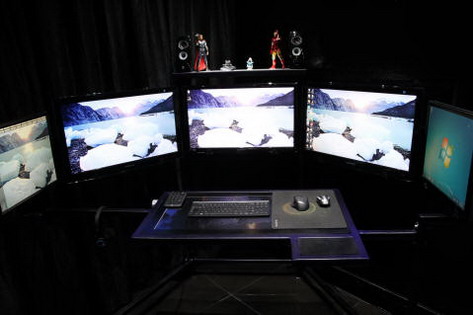
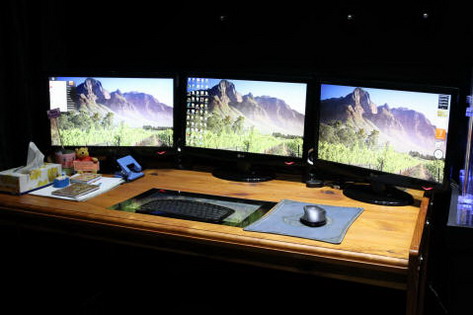
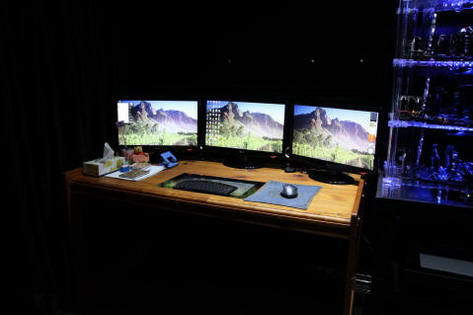
Seated at my desk I am surrounded by 3 - 27" Monitors, 2 - 19" Monitors and 1 - 26 " Monitor in the desk.
Oblique view of the desk .
 |
 |
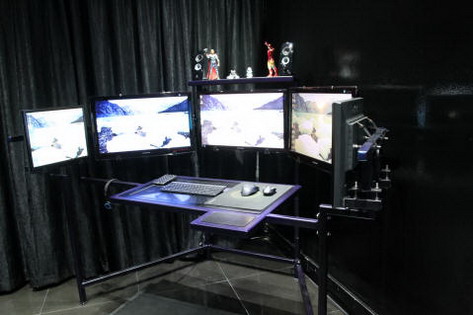
My wife's desk, sporting 4 - 23"Monitors and 1- 19" mounted in the desk.
One day I will make that desk black to match the room.
 |
 |
With 12 LED down lighters, I finally have enough light in the room.
When the lights are switched off, the LEDs remain on providing a blue glow in the room.
 |
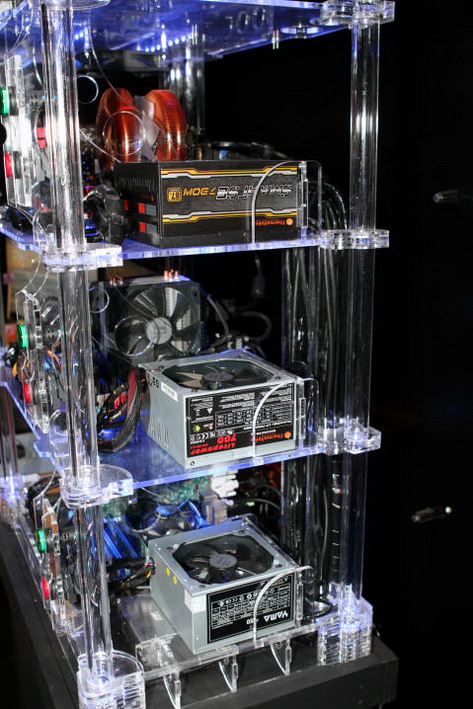 |
Hard drives stacked to the one side.
Power Supplies stacked on the other.
 |
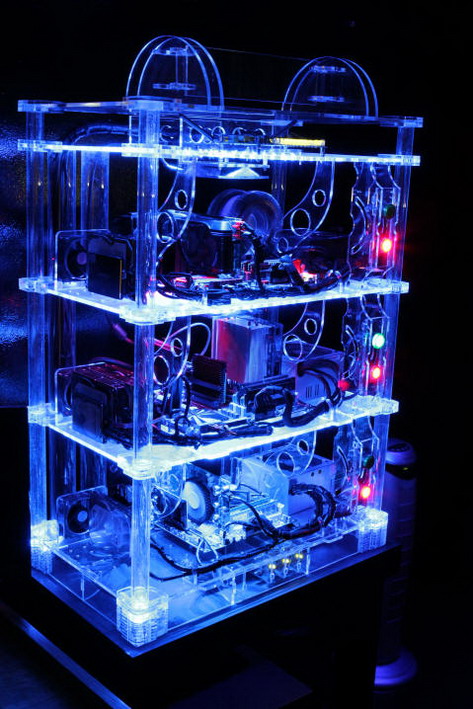 |
Front view in the dark.
Oblique view in the dark.
 |
 |
Oblique view in the light.
Front view in the light.
 |
My Sanctuary.
|
IN CONCLUSION | |
THANK YOU
Thank you for taking the time to view my website.
What you see here is the culmination of many different projects over many years.
This is my passion.
Life inside the world of computers.
Truly understood only by fellow enthusiasts.
If you have any questions or remarks
please send an email using the link to the right.
And of course, thank you to my lovely wife Heather for her unending patience with me.